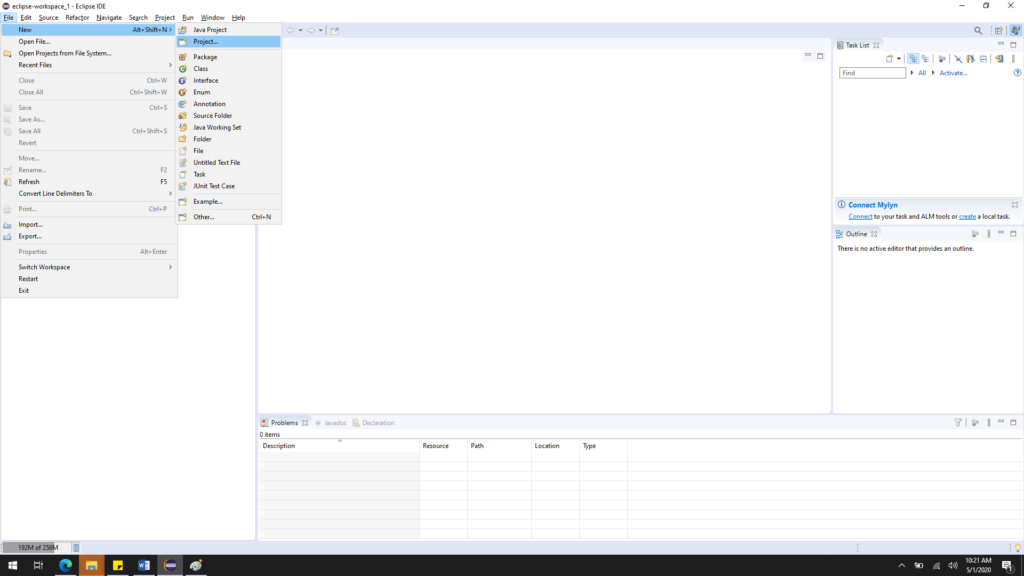
How to connect to a mobile device using Appium?
Appium requires few parameters (or) Capabilities to connect to an Emulator. Capabilities are nothing but an attributes or properties of the mobile device under test. In normal if any one asks about your phone, we use say about the phone make and model, which Android OS version it is running and in addition about some apps those are installed in the device.
Appium also requires the same details to be entered. It demands for the basic Capabilities to initiate the connection,
| Capabilities | Description |
| platformName | Can be Android or iOS depends on the mobile device platform under test |
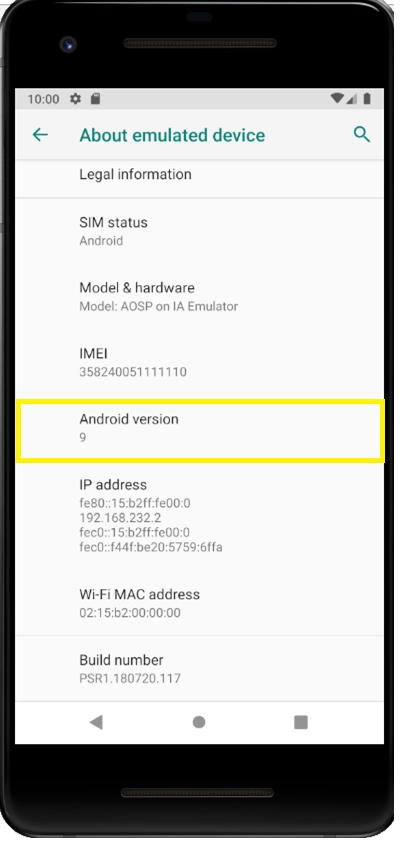
| platformVersion | OS version, for example if Android it can be ‘8’ or ‘9.1’ for iOS 12 or 12.2 like that. Can be seen in android settings -> about phone |
| “DeviceName” or “UDID” | Name of the device under test, can be get using “ADB devices” command. UDID is for iOS (Unique Device Identifier) |
| “appActivity” and “appPackage” | Have to provide Package name and Activity name of the application under test. |
| “bundleID” | BundleID is the identification of App on iOS. |
How to get the PlatformVersion from the device?
Take the device under test, goto settings and select option “About Phone” and make a note of “Android Version”
What is an “appActivity” and “appPackage”?
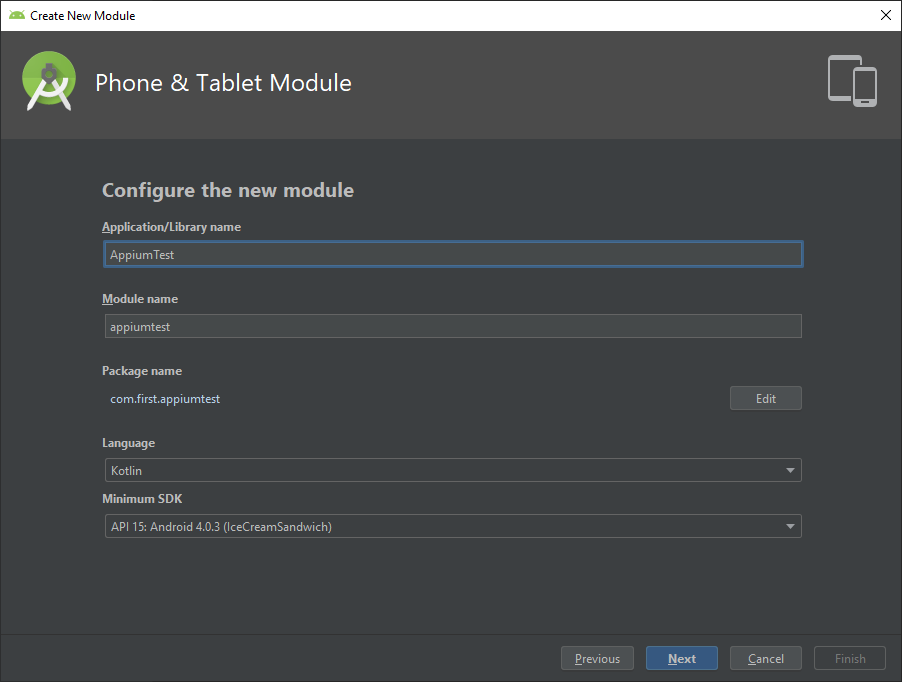
appActivity and appPackage are one of the basic technical identification of the android application. When the developers are developing the application they have a set “Application/Library Name”, here Package name will be derived from the Module Name. Please refer the screen below
Activity is a main module for an android app. It is nothing but a “screen name”. If any android app got opened, the very first screen what we are seeing is an Activity. For example, if I open WhatsApp application the first screen that load with a WhatsApp logo is an activity screen usually said as “Splash Activity” then it will navigate me to list of chats that’s another activity. Likewise whatever screen we are seeing in the app are called Activity. In android app development setting up an activity is the initial step. Whenever an app is launched it means some activity is in progress.
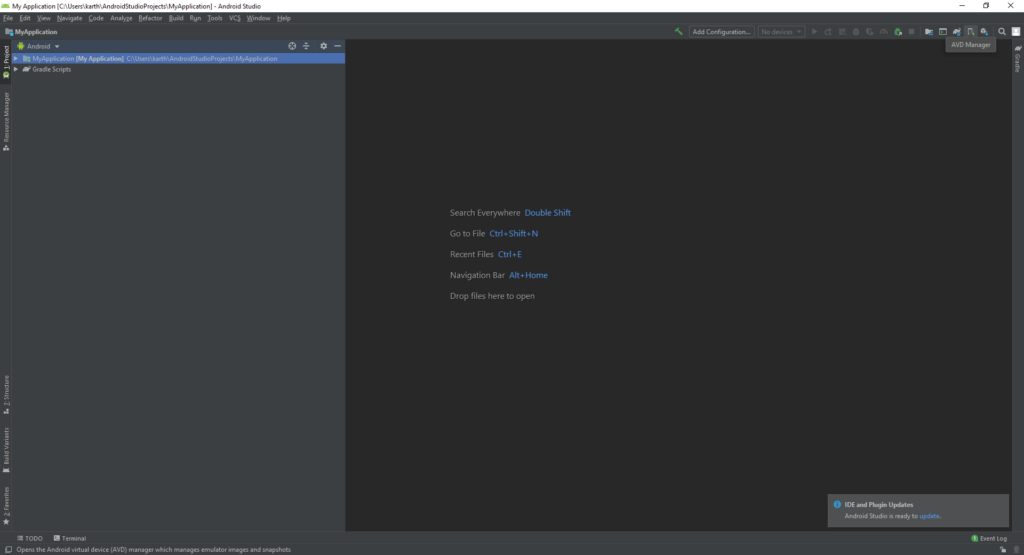
Below listed are few predefined Activities from Android studio. Just for your understanding
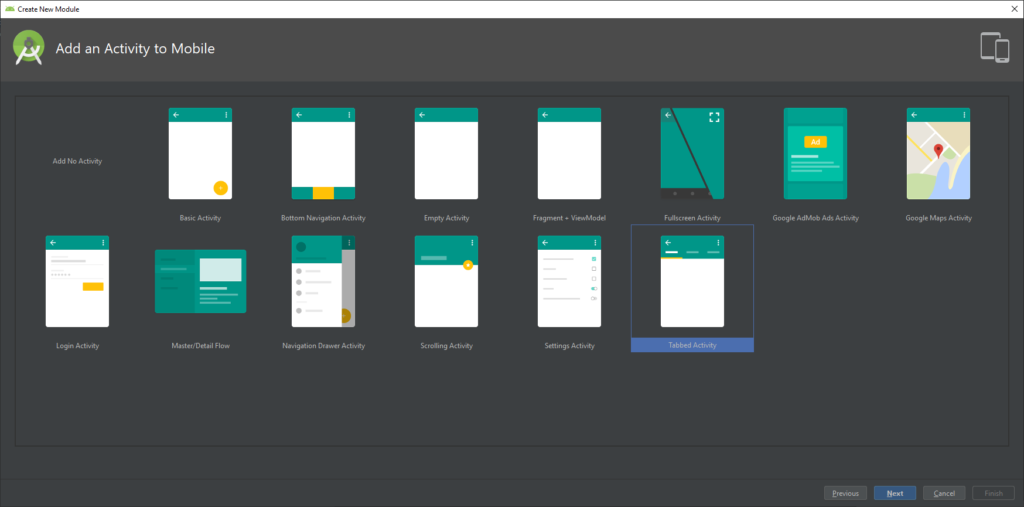
Developers can use the existing activity as it is or modify them or create a new one.
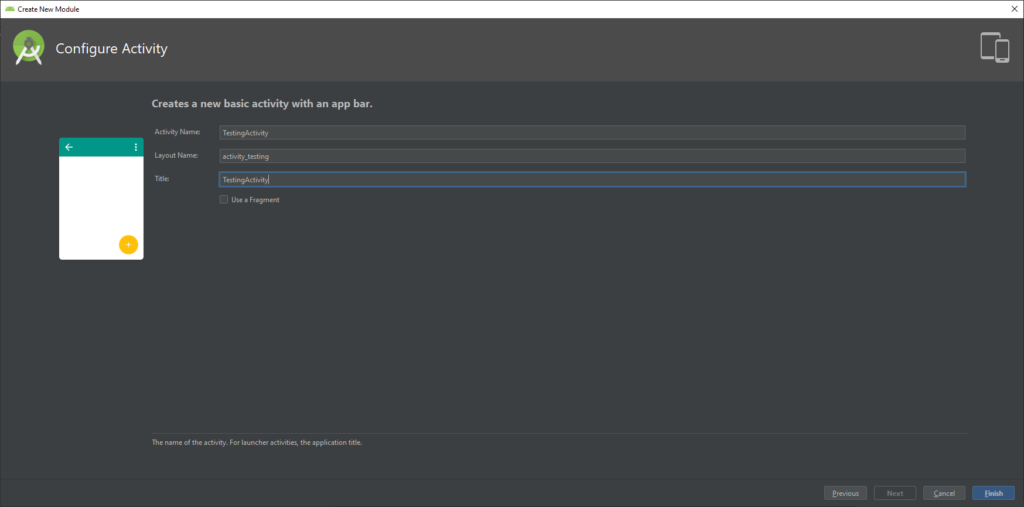
Here you can see how to name an Activity, In Appium we will use the “appActivity” name given here.
Now, we know what is “appActivity” and “appPackage” and how developers are creating that. It’s time to fetch these details after an app was created. Once the code is extracted as an apk file we cannot modify the app using android studio to fetch these details because converting to app means encrypting the code and make it as executable. (Same like jar file, have you ever used .jar or .class file to view the source code? it will be in encrypted format right, same like that).
So in that case how to fetch these values? There are certain steps and debugging commands given in Android studio, with the help of those we can easily find the “appActivity” and “appPackage”. Please find the steps below,
How to “appActivity” and “appPackage” for the app under test?
Step 1: Connect the device using USB cable
Step 2: Make sure in android “Developer Options”, “USB Debugging” and “Install via USB” options are enabled.
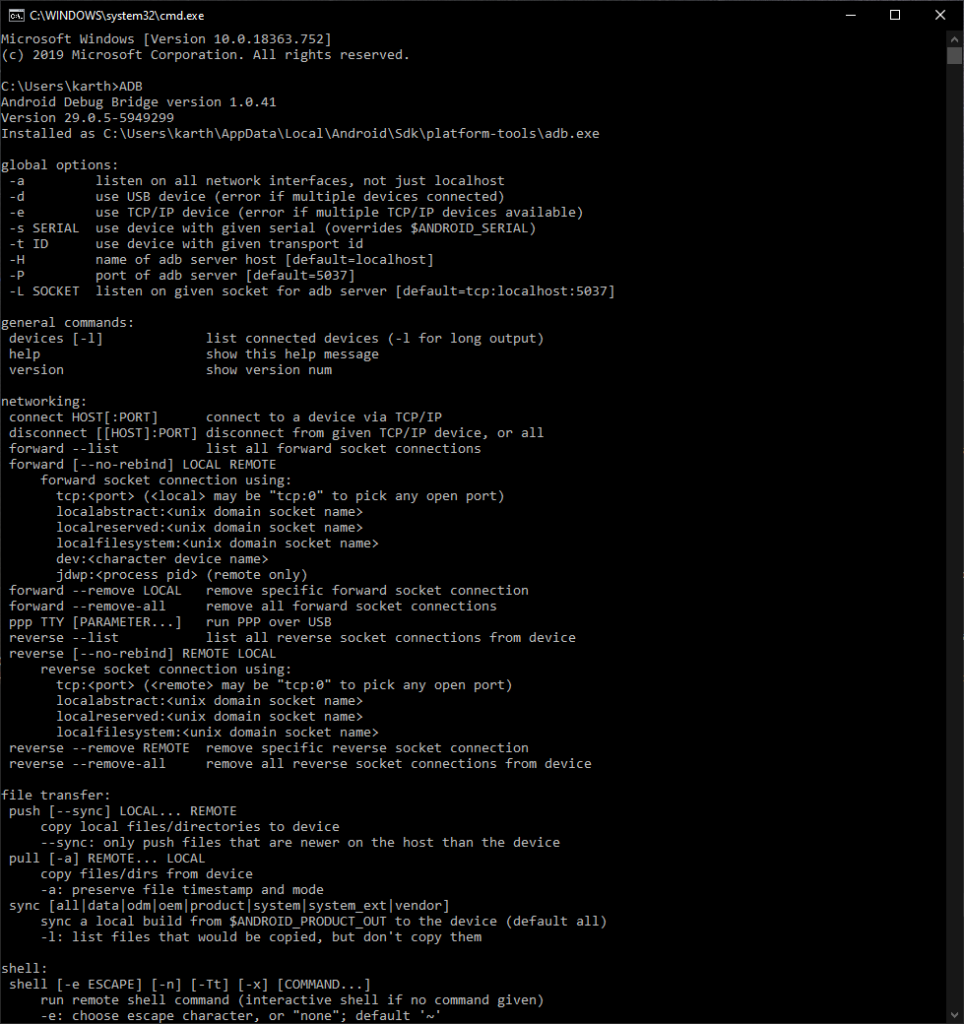
Step 3: Verify ADB DEVICES command is showing the connected device name
Step 4: Open command prompt and type the command ADB SHELL and enter.
Step 5: Start the app manually in mobile device
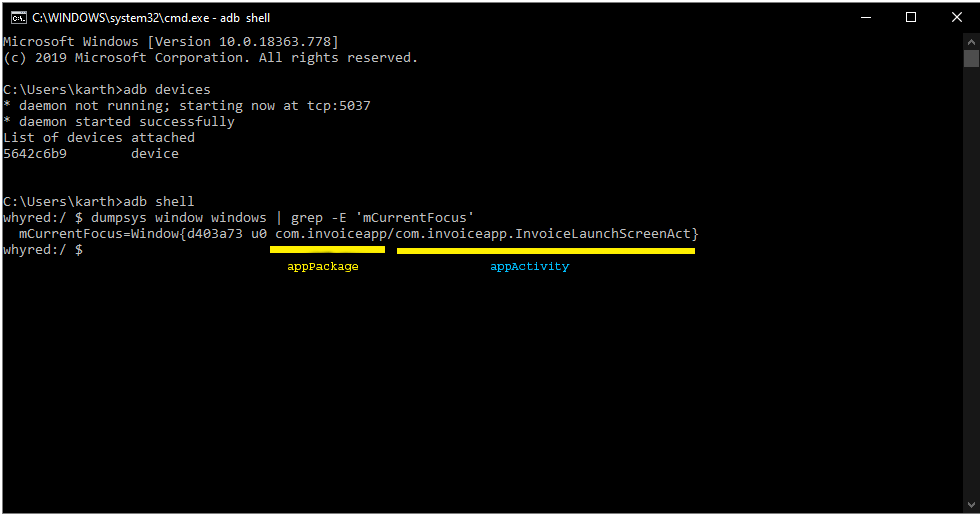
Step 6: While the app is starting up execute the below command in command prompt dumpsys window windows | grep -E ‘mCurrentFocus’
Step 7: The above command will list out the app package and activity. Make sure you have taken the exact start up activity(screen name) else it will endup with failure while executing/connecting. I mean the activity of the startup page should be taken.
Step 8: Package name should be like “com.testapp.main” and activity should be like “com.testapp.ui.activity.MainActivity”
If you follow the above steps you will get an output like this in command prompt (console/terminal)
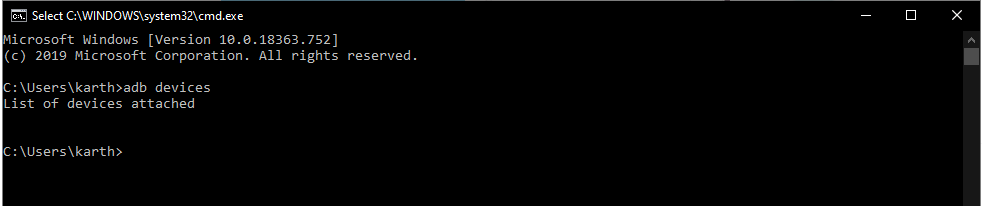
If you don’t find any attached devices after executing adb devices command, then make sure whether the device is connected properly along with
- Developer options should be enabled. Usually you will get dev access by clicking the “Android version” row 6 times continuously from settings screen. If not then check in google on how to enable the developer access with your device make and model. Because each OEM’s are having their own style of giving dev access.
- “USB Debugging” option must be enabled in device to enter in debugging mode.
All good so far. Also we have all the capabilities ready so it’s time to connect our device to Appium.
How to add “Desired Capabilities” in Appium?
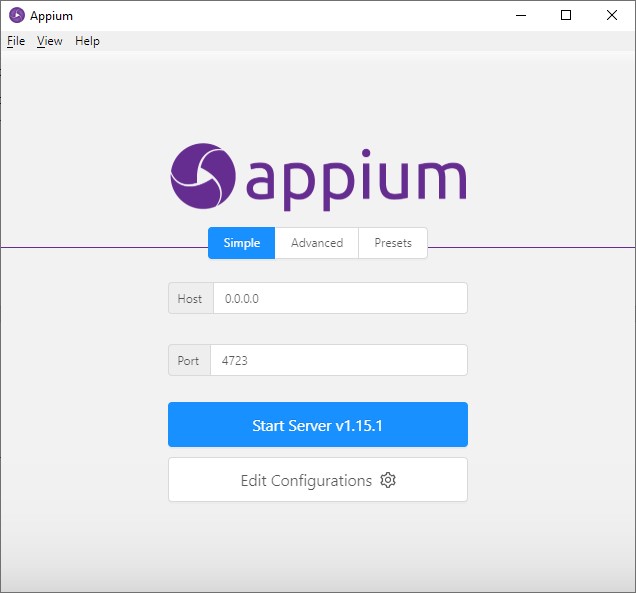
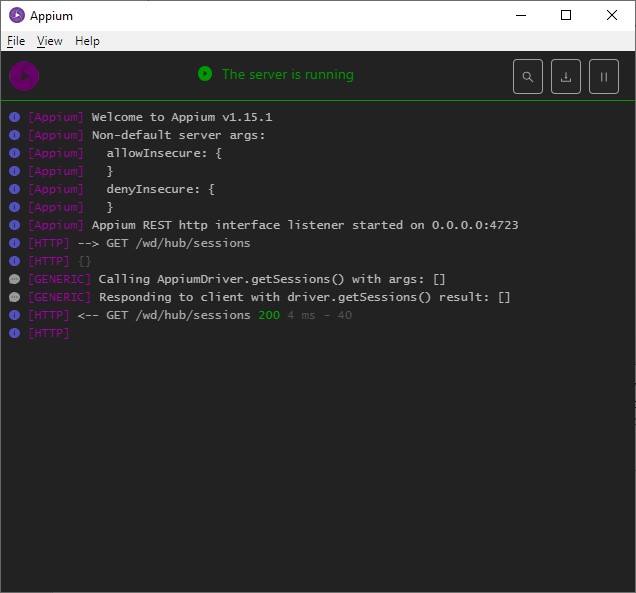
Opened my Appium Desktop, here I’m just trying to connect and launch the app under test using Appium so selected the Simple mode. As we already seen Appium will start with its default Host “0.0.0.0” and Port “4723’, I’m simply clicking on “Start Server” button
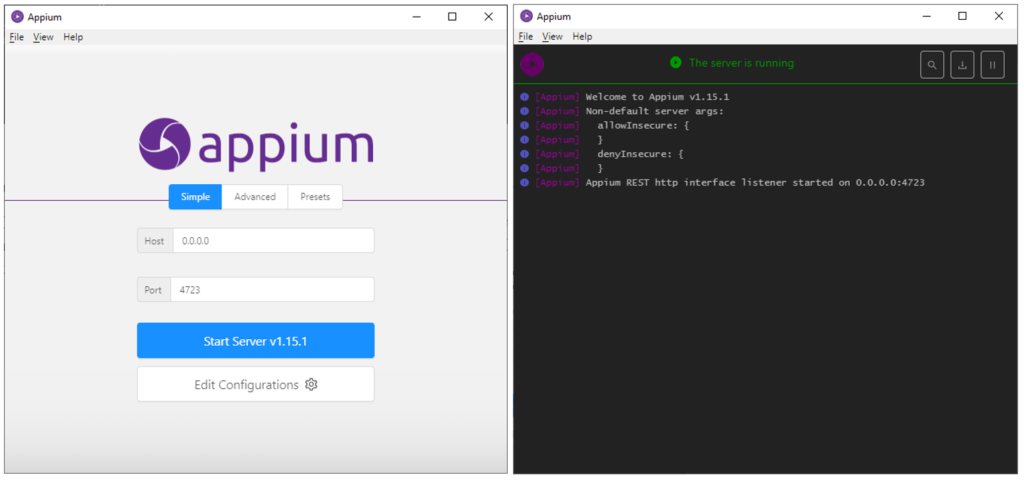
We have started our Appium server successfully and the server is listening on 0.0.0.0:4723.
Ok, then how to connect to our device ?
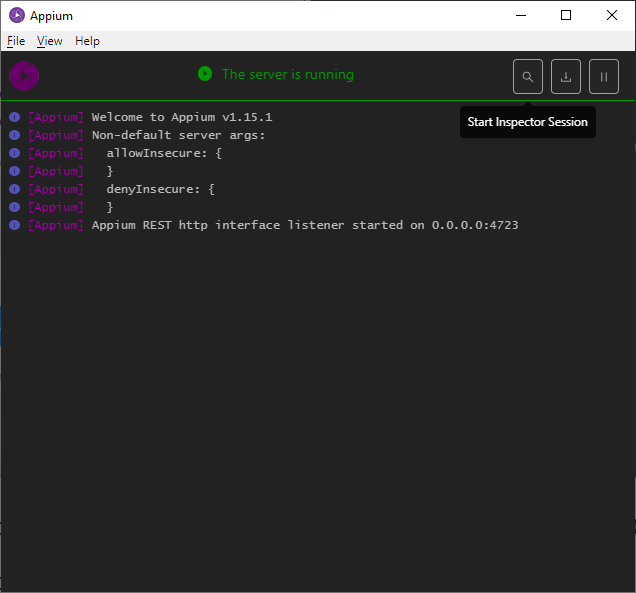
Connecting to our device made very easy by setting up the “Desired Capabilities”. For that click on the LENS icon called “Start Inspector Session” on the top of Appium server
You will be landed to Appium “Desired Capabilities” page where you can add your device and app capabilities
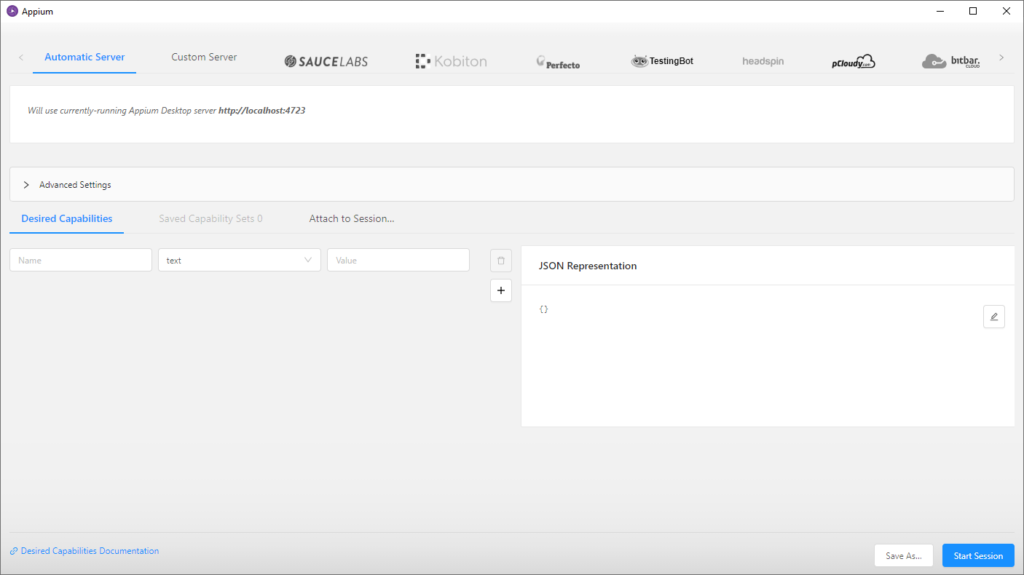
Select “Automatic Server” as default and you can see the below sections,
- It’s mentioned, on which host & port server is currently listening to
- Advanced Settings
- Desired Capabilities section
- JSON Represenation
We are now going to work in Desired Capabilities section, take ‘+’ icon labled button and create around 5 rows and start filling the capabilities like below,
Appium capabilitites are case sensitive so please make sure you are giving capabilities correctly.
| Capabilities | Description |
| platformName | Android |
| platformVersion | 9 |
| deviceName | Output from “adb devices” command |
| appActivity | Activity we got using the “adb Shell” command |
| appPackage | Package we got using the “adb Shell” command |
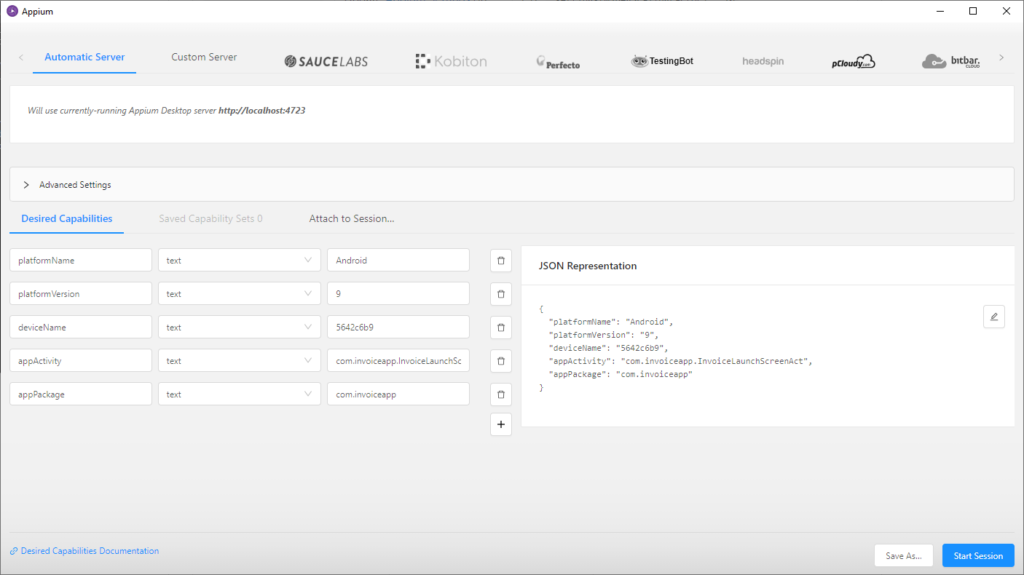
You can see whatever Capabilities we entered are convered into JSON format. This is because appium will consume its DesiredCapabilites always in JSON format, in other words “Key” & “Value” pair like Hashmap in java.
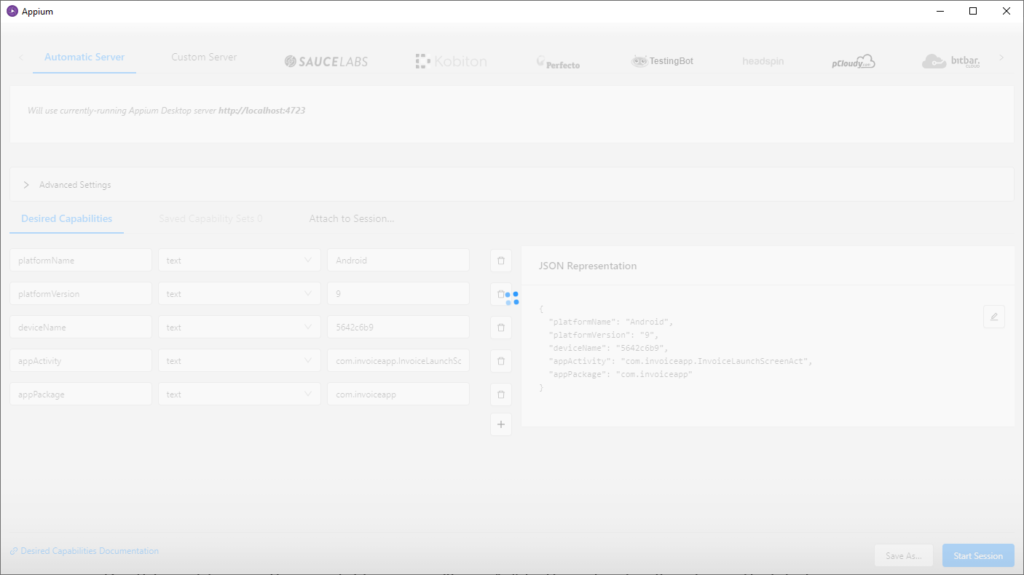
Don’t forgot to save the capabilities using “Save As” button else it will endup with data loss.
All set, now its time to start our connectivity, for that just click on “Start Session” to initiate the connectivity.
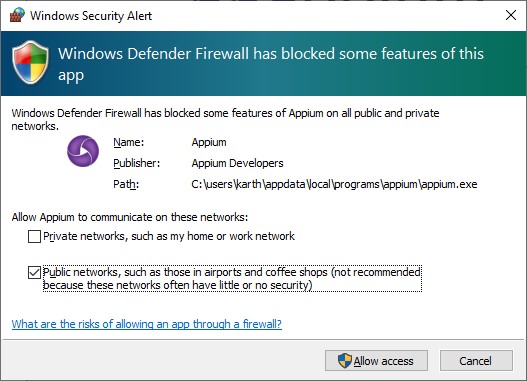
Verify whether your device is getting any popup like below screens, If yes “Accept or Install” all popup. This is because appium is trying to install the app called “Appium Settings” to your device.
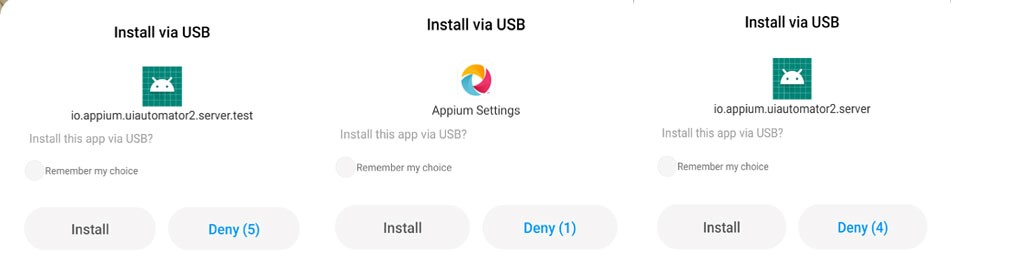
“Appium Settings” app is a bridge for Appium to communicate with the device (Same like “WDA“ for iOS what we seen in our previous blogs). Once the app is installed your App under test should be opened and displayed in Inspector screen like below.
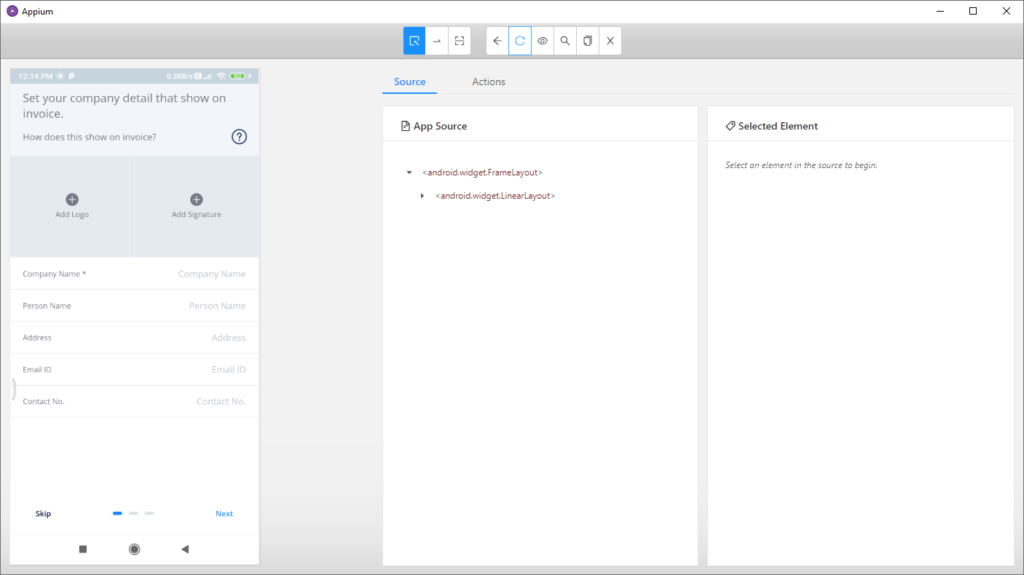
We connected the device successfully and good to go with Inspecting the Elements.
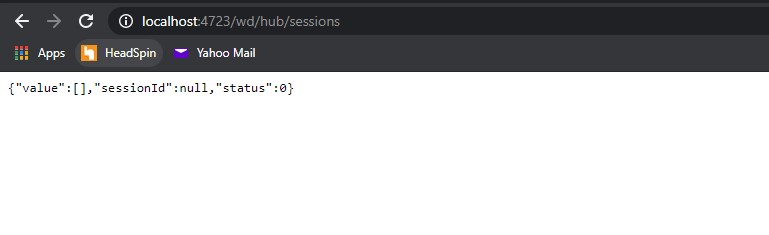
You can also refer Appium logs to findout the proxy commands, request and responses


Commonly facing connectivity issues:
- “An unknown server-side error occurred while processing the command. Original error: Cannot read property ‘toLowerCase’ of undefined”
- If any Capabilities are set incorrectly can be a spelling mistake or Case sensitivity issue. Verify all capabilities very thoroughly
- “An unknown server-side error occurred while processing the command. Original error: Unable to find an active device or emulator with OS 8. The following are available: ****** (9)”
- This error will come if deviceVersion capability is incorrect
- An unknown server-side error occurred while processing the command. Original error: Cannot start the ‘com.invoiceapp’ application. Original error: Cannot start the ‘com.invoiceapp’ application. Original error: Activity name ‘.com.invoiceapp.InvoiceLaunchScreenAct’ used to start the app doesn’t exist or cannot be launched! Make sure it exists and is a launchable activity
- If appPackage or appActivity is incorrect
- If you do not get any popup for “Appium Settings” installation (or) if connection not established with Appium, then verify “Install via USB” option is enabled in android general settings under “Developer Options”. This usually gets enabled by default. If not make sure it’s enabled.
- Miscellaneous Errors
- Make sure you can see the device listed in “ADB Devices” list
- Make sure “Appium Settings” app is installed on the device
- Make sure your device is not locked (i.e. you should see some active screen)
- Make sure App under test is installed on the device.
Cheers!!
Naveen AutomationLabs


 – Basics To Advanced (Coming Soon)")