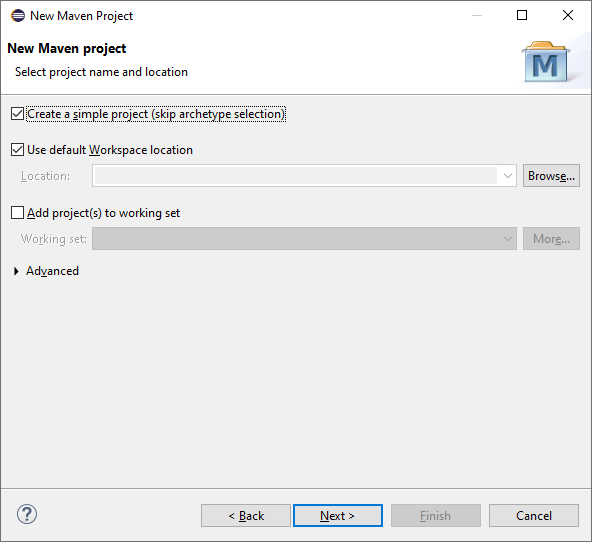
What is a Framework and why we need for our Testing?
There are lots of description available for this question. If you ask me I will simply say a framework is nothing but a skeleton for any project.
Just imagine we are now going to automate a mobile app which consist of 15 activities (screens) and 500+ mobile elements. Having said that, in our Automation script
- How we are going to manage these screens?
- How and where you can save those mobile elements?
- How can you easily manage all the dependent jars/binary files?
- How can you easily manage the associated files like excel, logs and other reporting utilities?
Framework plays a major role here. It allows us to easily manage the code base, data files, Properties file, logs, Reports and everything. Because creating a script is very easy but managing those are the real challenge.
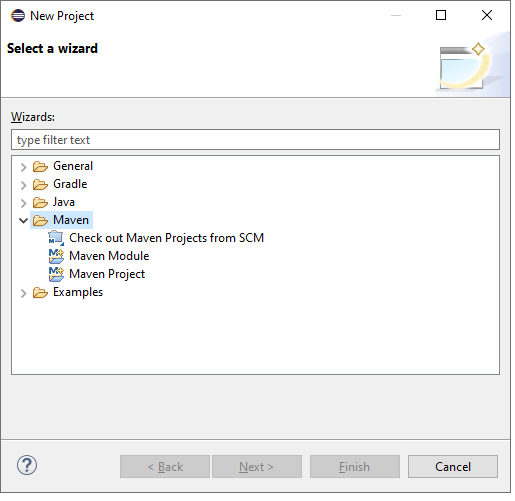
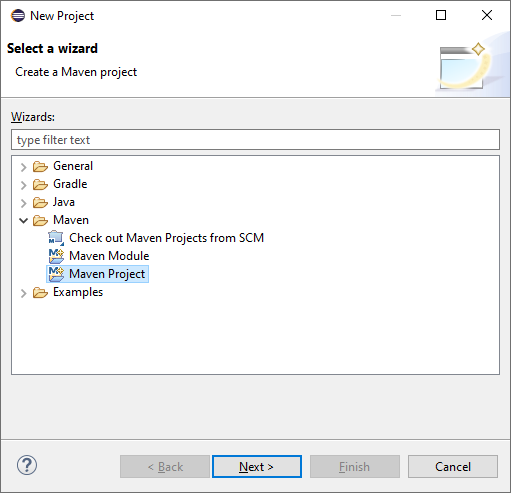
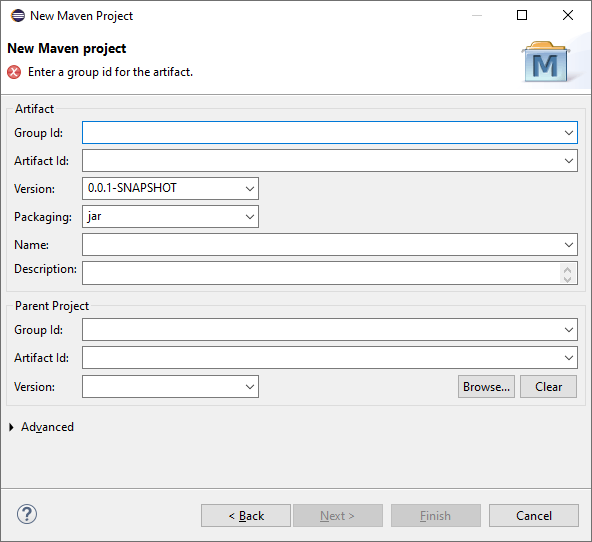
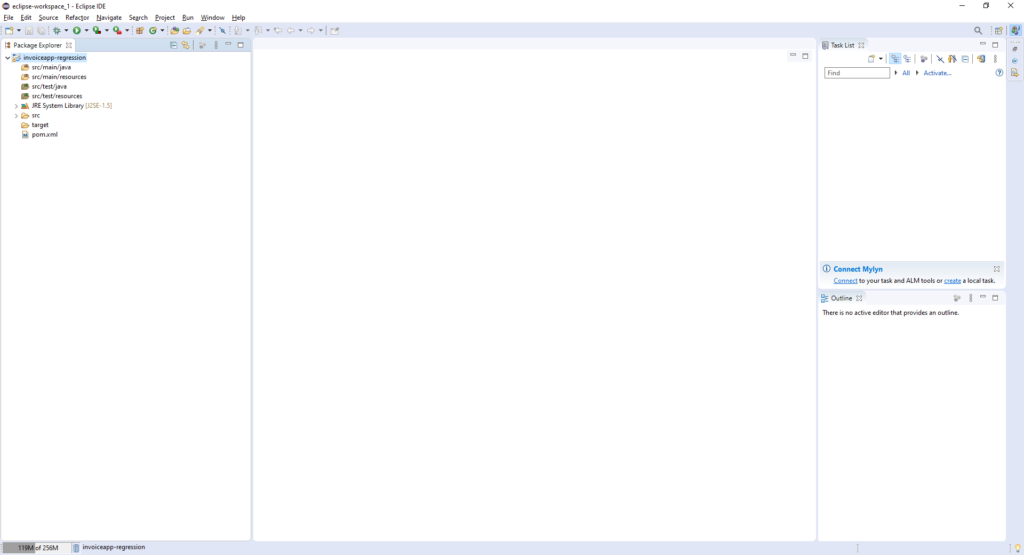
In our previous blog we have seen how to create a Maven project. Maven is also a framework, you can see the pre-defined folder structure (archType) in maven project. Having that in hand, now it’s time to set where to place what as per the best practices.
There are some types of framework available like Keyword driver, BDD, Hybrid and so on, in this tutorial we will focus on “Data Driven framework”.
I will always see framework creation in these 4 approaches,
- Configuration section: In this, we will configure all necessary reporting and dependencies.
- Maven POM file
- Log4J
- Extent Report
- Config.properties file
- Data Utility (Excel/ JSON/ XML)
- Implementation section:
- Creating a Base class and implementing drivers & initiating all files from “Configuration section”.
- Page Object Model for each screen/activity.
- Creating a reusable utility
- Test Case section:
- Creating test cases
- Implementing TestNG Listener on our test case class
- Creating TestNG XML with different parameters
- Execution section:
- Creating a .bat file for Maven command line execution
Simple right, this is all about framework guys. Going forward if anyone asks what is a framework? I hope, you can describe well.
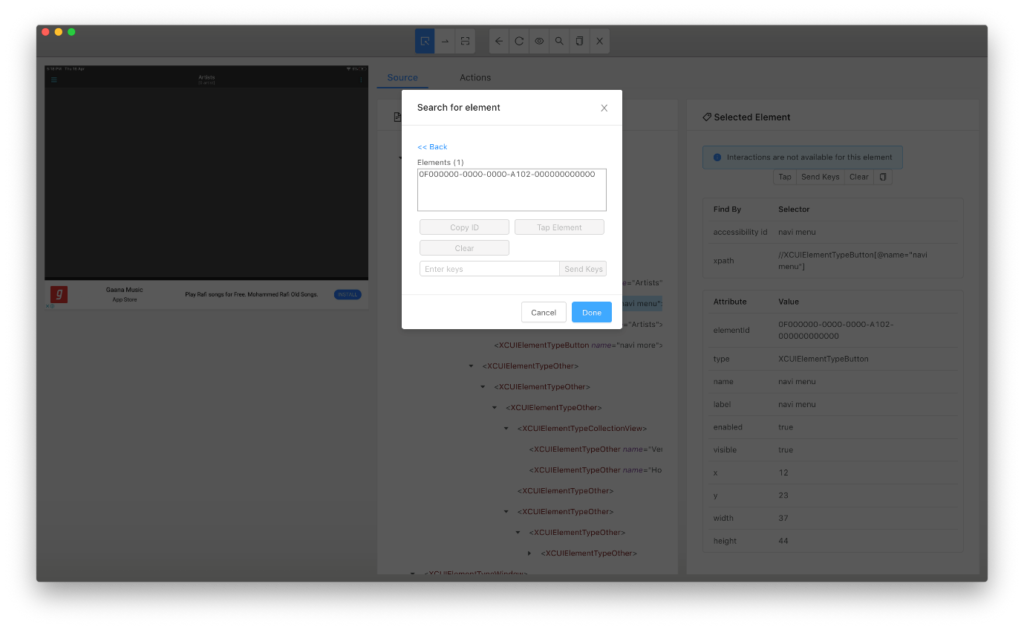
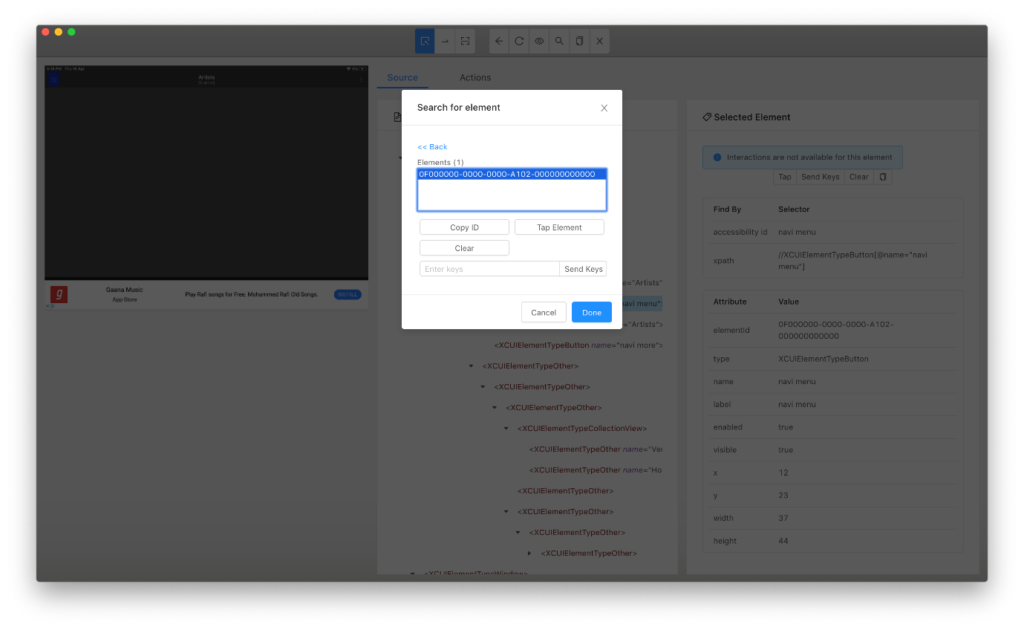
Please find a sample image below to get an idea of how a typical framework looks like.

See, all the files are categorized and placed on its corresponding path/packages. This is framework and this is how we are going to create for our project. Along with that we will also focus on how OOPS logic’s are creating a magic here.
Importance of Configuration section:
There are must have in all project/framework, without all of these a project cannot be fulfilled like Reports, Logs, configuration file, getting input for a method from external sources, Maintaining the necessary files/Jars etc…
What is Maven POM file?
A Project Object Model or POM is the fundamental unit of work in Maven.
It is an XML file that contains information about the project and configuration to build the project.
This XML file will have lot of tags, most importantly and frequently used tags are and , In tag we can specify the needed jar file details. For example,
//This dependency section is for "Log4J"
log4j log4j 1.2.17
//This dependency section is for "Selenium client"
org.seleniumhq.selenium selenium-java 3.141.49
Note: The tags , , and are must in a POM file. For our project values will be whatever we have given at the time of creating a Maven project.
While saving the POM file or while compiling the project, Maven will always look for the dependencies to make sure all Jars are available and those are matching with the configuration given under tag. If not, then it will automatically download the necessary Jars and installs it on our project dependency list.
So NO need to download and map them manually. This is an easy and most reliable way to maintain and keep our dependencies up-to date.
In case of any updated build received for any dependency, just a version # change on corresponding tag is all we need to do in POM file.
https://mvnrepository.com/ is the official site for downloading any maven dependencies. Search using the name of the jar we need and simply copy the dependency and paste it in POM file under parent tag.

We will see about tag at the time of configuring Maven.bat file in our future post in detail.
What is Log4J2?
Apache Log4J or Log4j2 (updated version) are used in project to create a log file. Logs are must to track and monitor the execution for current state and mainly for debugging purpose.
Consider, you are running our script in a remote machine, with the help of log files we can easily monitor the progress and errors or warnings if any. Please take a look at the below video to understand how to create a log file for our execution using Log4J.
What is Extent Report?
We all know about Extent report very well, It is one of quite famous reporting tools because it is HTML based, very light weight, elegance and easy to setup. It also allows to configure the report with lot of status for each test step.
What is Config.properties:
Config.properties file is used to store the configurable parameters of an application in the form of Key and Value pair. Main advantage of using this file is for changing configuration at any time since it is not a hardcoded value in our code. For example, we can save the proxy and Host details for Appium in this file instead of hardcoding it in our script.
What is DataUtility:
A common term to mention the data source. It can be an Excel sheet, a notepad file, JSON or an XML. Depends on the project need and data source we can write a utility class to fetch the data. For example if we need to fetch a data from excel and pass it to any text field, then we have to write a utility class to fetch the data from excel sheet. We can use ApachePOI or Fillo.
With all these, if we include our Base class, POM class and test class we are done with the Framework.
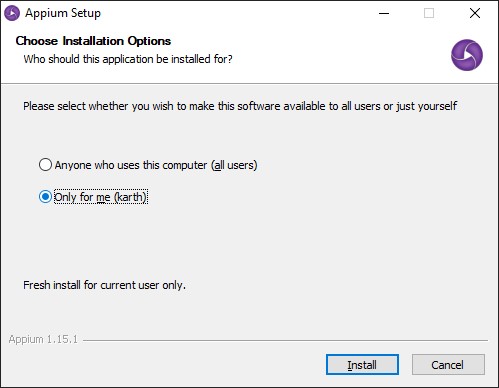
All set, it’s time to create a Mobile Testing Framework using Appium.
As a first step of Framework creation process, We need to determine the dependencies in POM. Below API’s are needed for our framework
1. Selenium Java client
2. Appium Java client
3. TestNG
4. Fillo
5. Log4j
6. ExtentReport
7. Apache POI
Please find below for the POM file with all dependencies for our project.
—————————————————————————
xmlns:xsi=”http://www.w3.org/2001/XMLSchema-instance”
xsi:schemaLocation=”http://maven.apache.org/POM/4.0.0 https://maven.apache.org/xsd/maven-4.0.0.xsd”>
4.0.0
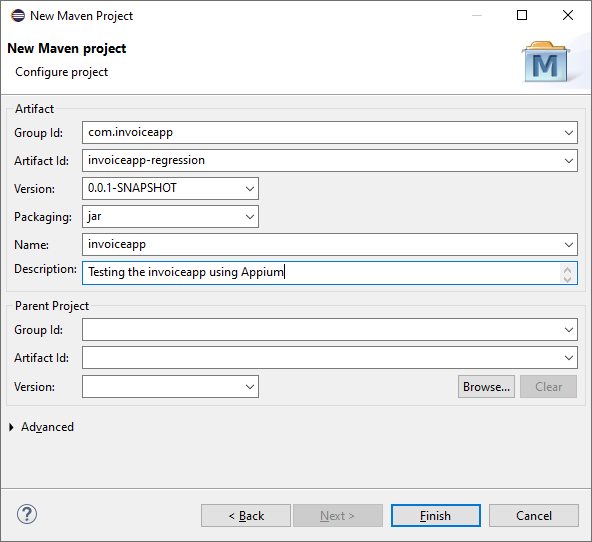
com.invoiceapp
invoiceapp-regression
0.0.1-SNAPSHOT
invoiceapp
Testing the invoiceapp using Appium
org.seleniumhq.selenium
selenium-java
3.141.59
io.appium
java-client
7.0.0
org.testng
testng
6.14.3
test
com.codoid.products
fillo
1.18
log4j
log4j
1.2.17
com.aventstack
extentreports
4.0.9
org.apache.poi
poi-scratchpad
3.17
———————————————————————————–
I am excited, are you?
Cheers!
Naveen AutomationLabs


 – Basics To Advanced (Coming Soon)")