1. Overview :
In this article, we will learn about automating our first API using Rest Assured and various terms linked with API.
2. API
Before proceeding any further , let’s try to understand what is API .
- API: Application Programming Interface is nothing but public functions that can be called and executed by other programs, these other programs can be programs running in the same computer or those running in a different computer altogether.
Why do we need API or what does it offers :
- Abstraction
- Contractual Obligations between client and backend
Let’s try to understand with the help of an example:
Consider an ATM Machine, you are provided with multiple options such as checking account balance, cash deposit or withdrawal and statement, etc. So here you get all things by a push of few buttons.
Here APIs play a Key Role in abstracting you from the backend services. Also performing any operations such as cash withdrawal you need to provide your ATM pin and the amount to be withdrawn.
The withdrawal would be allowed only if your pin is correct and have sufficient balance money in your account and it is within the bank transactional limit for the day. So these are some business rules defined and these are nothing but contractual obligations that an API defines and that has to be fulfilled.
So, in short, if both the business and data logic can be re-used in some other application. Then this application is called a web service.
3. Web Service:
It is an interoperable software system designed to support machine-to-machine interaction over a network. The three necessary conditions for any web application to become a web service:
- Interoperability: Any Java, DotNet, PHP, or C++ application, etc.., should be able to interact with the web application.
- Application-to-application interaction: For example, Jet Airways in its web application uses a different bank’s payment gateway to make payments. Here, banks have extended their applications over the network to be accessed by the jet airways application. Thus, the bank application is acting as a web service.
- Communication must be over a network
Now that you have understood the web service and API, the next important term you need to understand is the API endpoint
- It is a location from which an API can access the resource that it needs to carry out the functionality.
- It is a unique URL for communications between the client-side and server-side.
By now you have understood that web services are capable of communicating with web applications with the help of API endpoints.
Now the question is what does this API endpoint contain that makes any web server understand the requests from the UI and how to respond back?
The two things that make it possible are the request and response that is passed with every API call.
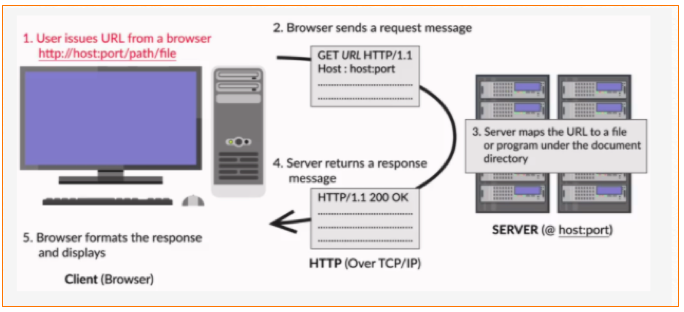
So now it’s imperative to understand how request and response exchange takes place between a client (Browser) and a server
You must have heard the terms SOAP and Rest, Let’s try to understand these first in detail:
4.SOAP Architecture:
So today many applications built in many programming language . For example there is web applications designed in JAVA, some are in .dot net and some in PHP.All these
- Application collect and store data, and this data needs to be exchanged among different applications.
- But this exchange among these heterogeneous applications would be very complex.
- So, one of the methods to combat this complexity is to bring a common language which is XML i.e. Extensible Markup Language
- But there for no specific standard on how to use XML across all the programming language for data exchange
So this is where SOAP or Simple Object Access Protocol comes into the picture.
Here are a few reasons for using SOAP architecture:
- SOAP is considered a light-weight protocol that is used by applications for data exchange. Also, since SOAP is particularly based on XML, which in itself is a lightweight data exchange language, so it falls in the same category as a protocol.
- SOAP is designed to be platform and operating system independent. It can work with programming languages on both Windows and Linux platforms.
- It is based on the HTTP protocol, which is the default protocol used by all web applications. Therefore, there is no customization required to run the web services built on the SOAP protocol to work on the World Wide Web.
- It helps in Exposing business functionality over the internet.
Some limitations with SOAP architecture such as:
- The HTTP protocol is not used to its full extent.
- A resource representation is done only in XML which is fast, but still can be considered slower than many of its competing technologies such as JSON.
- Working with SOAP requires you to write a proper XML structure almost every time, even for extremely simple tasks. This makes your work lengthy and a bit complex.
- The above-mentioned limitations can overcome with the introduction of REST(Representational State Transfer) architecture.
5. Rest Architecture:
Let’s look at some characteristics of the REST architecture:
- It makes the best use of the HTTP protocol. The request and response sent are proper HTTP request and response. So, the request contains proper HTTP methods while the response contains proper status codes.
- It is a style for designing loosely-coupled web services.
- It relies on the stateless, client-server protocol, for example, HTTP. So, it does not store any client’s session on the server-side and thus making the REST APIs less complex to develop and maintain.
6. HTTP Protocol:
We have talked a lot about HTTP protocol, but we still don’t know what exactly is this HTTP or even protocol for that matter.
So, whenever you enter any URL in the address bar of your browser, the browser translates that URL into a request message according to the specified protocol and then sends it to the server.
There are many predefined HTTP methods that can be used while sending HTTP requests.
Most common HTTP methods:
- GET :asks the server to retrieve a resource. You can think of a resource as some data or file on the server
- POST : asks the server to create a new resource
- PUT: asks the server to update a resource
- DELETE: asks the server to delete a resource
- PATCH: used to update a portion of an already existing resource
Then there are two different categorisation of HTTP methods:
- Safe: Safe methods are those that can be cached and prefetched without any repercussions to the resource. This means that there is no change expected in the resource by the client. So, GET is safe, while PUT, POST, DELETE PATCH are not.
- Idempotent: An idempotent HTTP method is one that if called many times will provide the same outcome. It does not matter if the method is called only once or multiple times. The result will always be the same. GET, PUT, DELETE methods are idempotent.
The response from the server is accompanied by a status code. This status code is important as it tells the client how to interpret the server response. Here are some of the common status codes –
- 1XX – informational
- 2XX – success
- 3XX – redirection
- 4XX – client error
- 5XX – server error
Some of the common HTTP status are:
- 201 (CREATED)
- 200 (OK)
- 401 (UNAUTHORIZED)
- 403 (FORBIDDEN)
- 400 (BAD_REQUEST)
- 404 (NOT_FOUND)
Further, you can read about what happens when you type a URL and press enter.
Till now we have learned about API, Web Services, SOAP and Rest, HTTP protocol, and methods, Now it’s the perfect time to know about Rest Assured.
7.Rest Assured:
- REST Assured is an open-source Java library for validation of REST web services.
- It is flexible and easy to use and supports all the Http Methods such as GET, POST, PUT, etc.
- It supports BDD (Behavior-Driven Development) by using test notation, Given, When, and Then, which makes the tests human readable.
- Rest Assured API uses the “Hamcrest” framework for validation.Which we will learn it in detail
8. Creating a simple Rest Assured Program:
Pre-requisites:
JDK 8 , Maven, Eclipse IDE
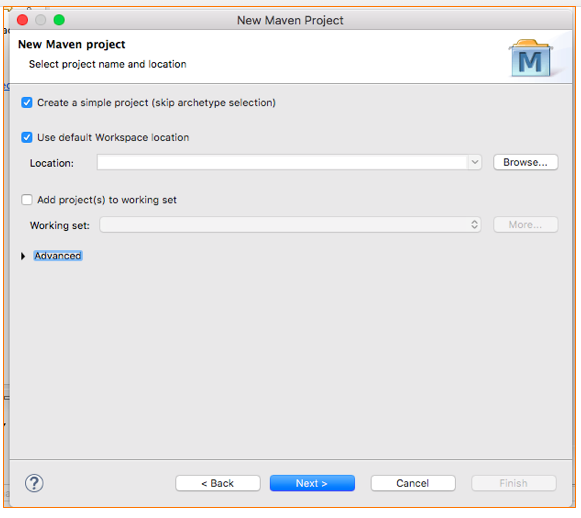
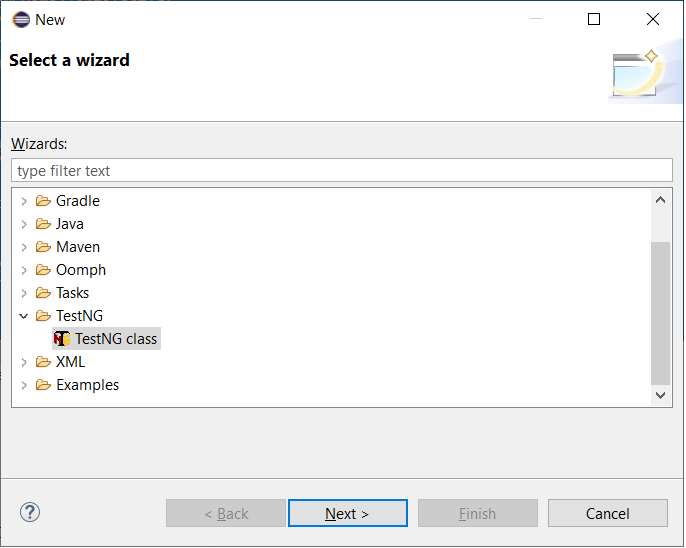
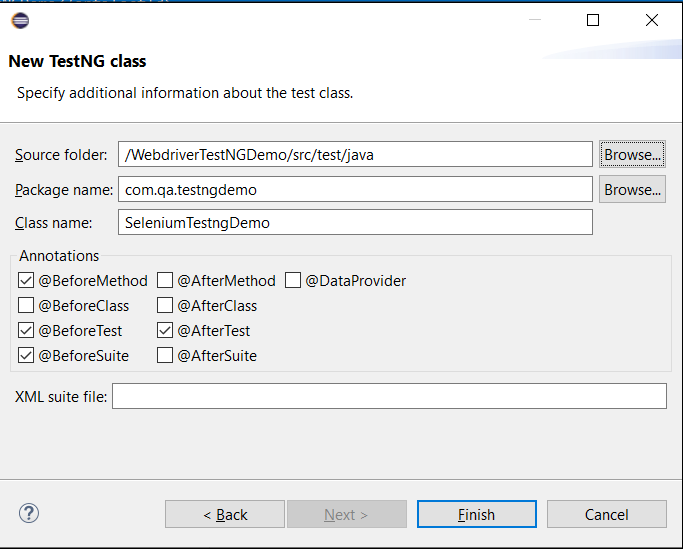
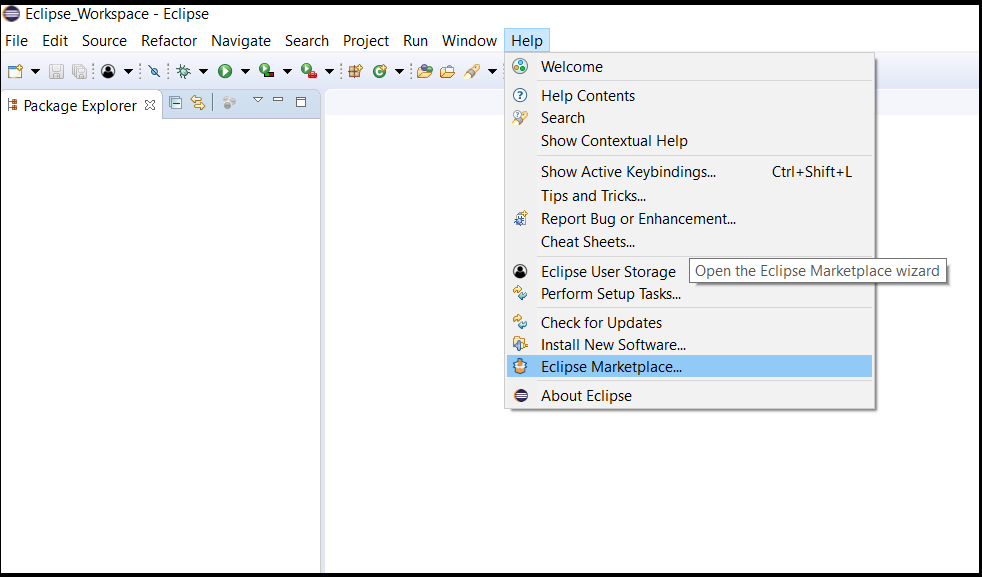
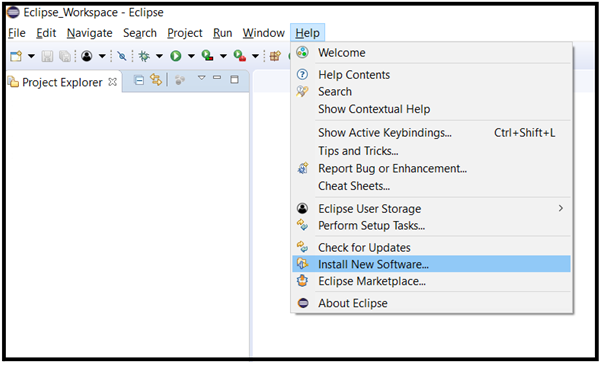
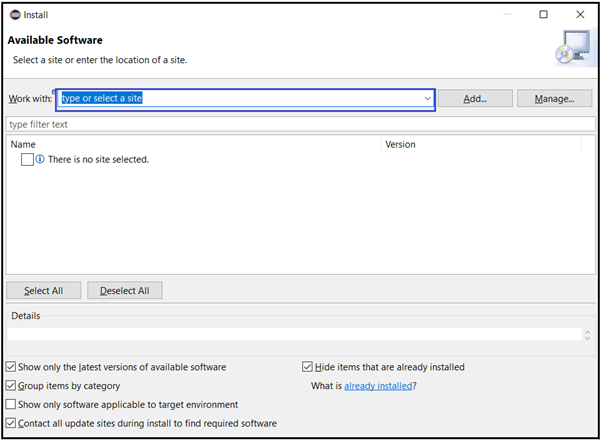
Let’s get started by creating the first project. Open Eclipse IDE and create a new project.
- Click on new –> Maven Project → create simple project → Next
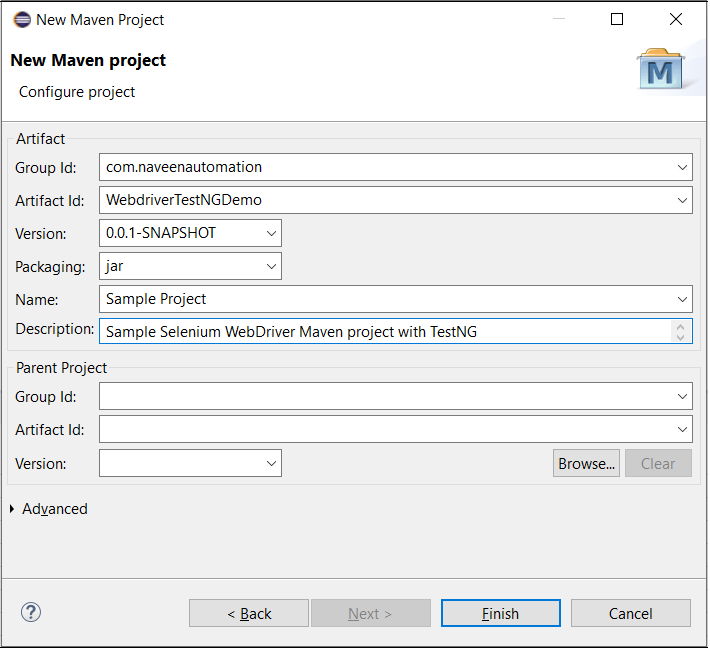
2. Provide group id and Artifact id and click on finish:

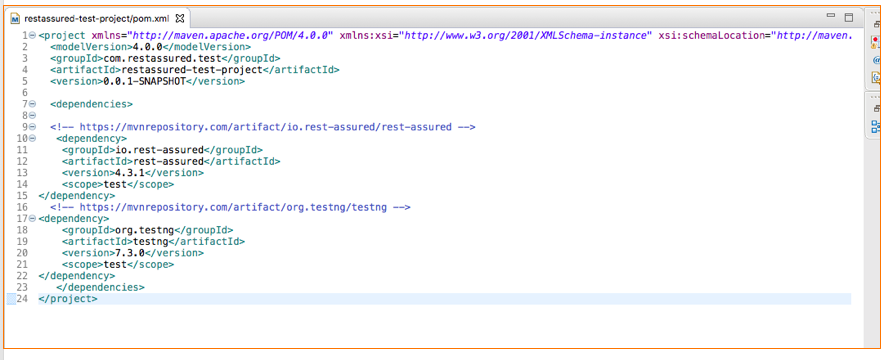
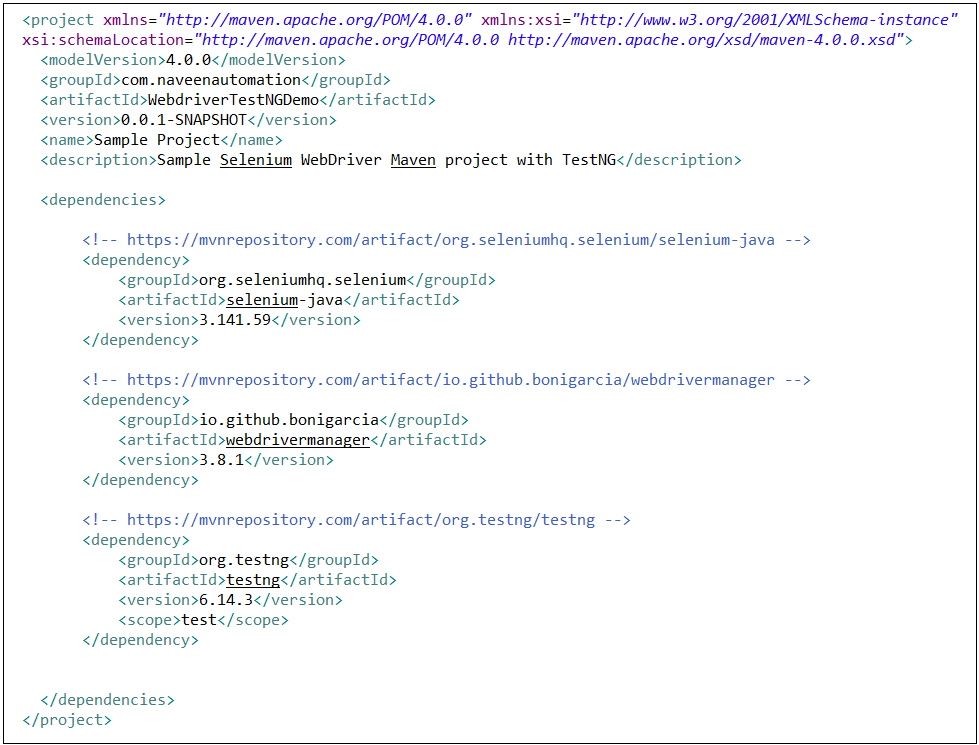
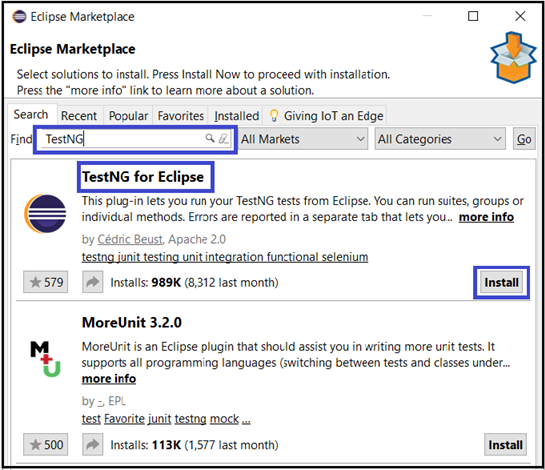
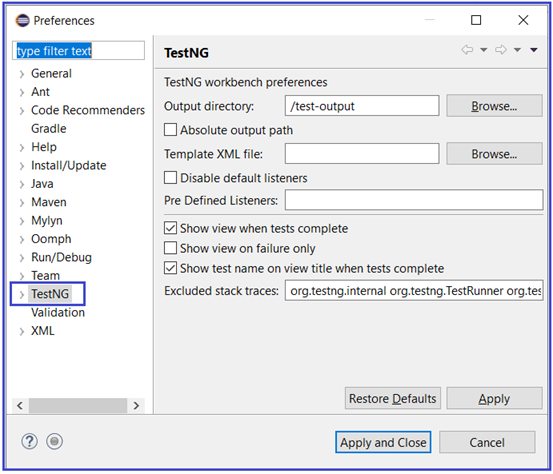
Now , configure testNg and Rest Assured library in your pom File:
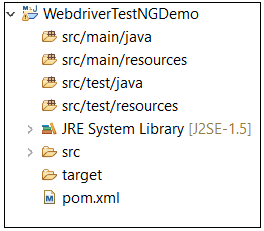
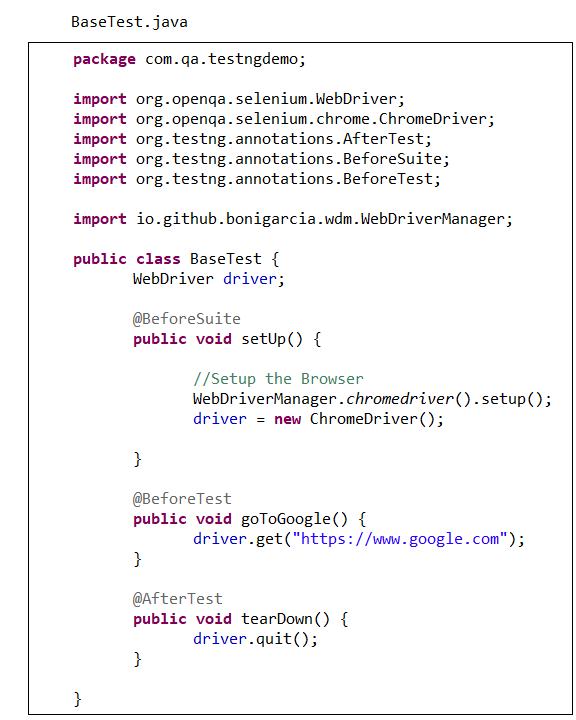
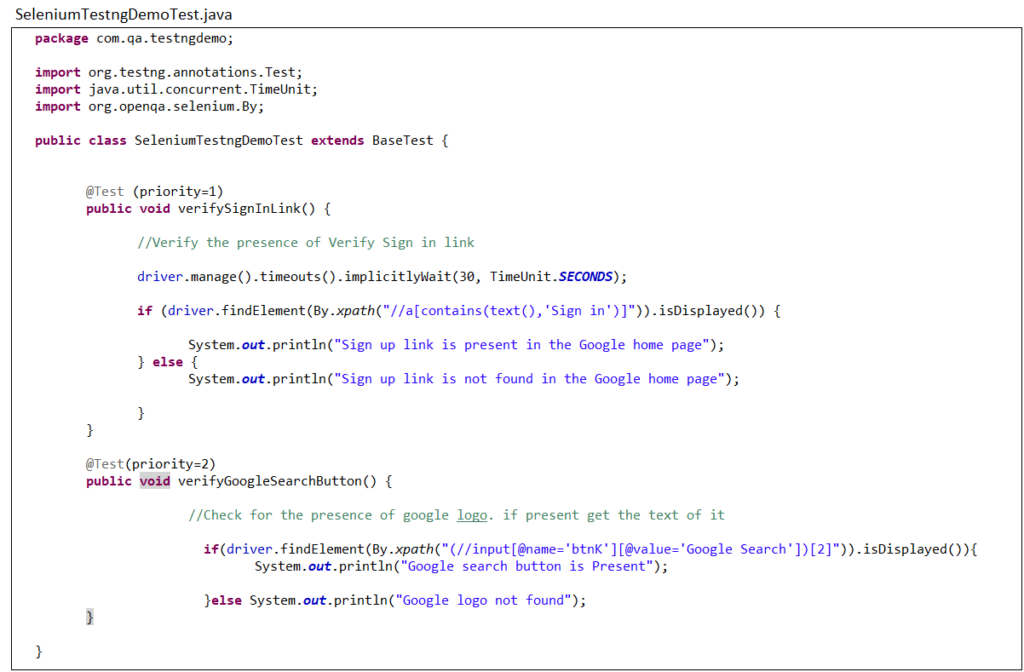
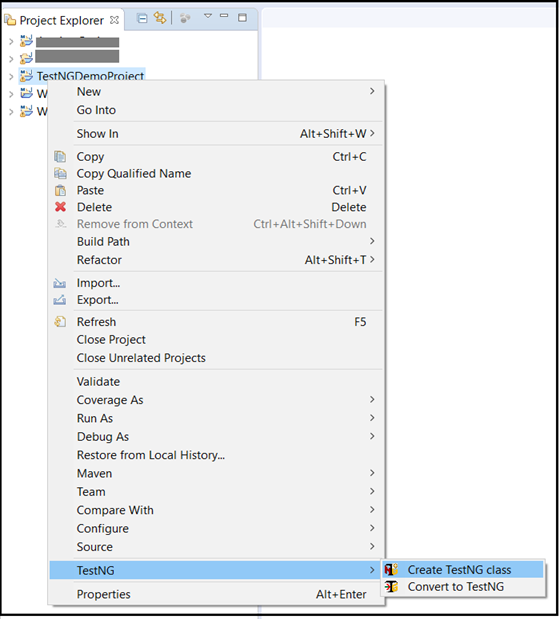
Once , libraries are added then create a class under src/test/java and create a test method in it:

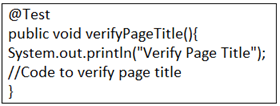
Here’s the code:
package com.restassured.testcases;

import org.testng.annotations.Test;

import io.restassured.http.ContentType;

import static io.restassured.RestAssured.*;

/**
 *
 * @author Mandeep Kaur
 *
 */
public class SampleTest {

	@Test
	public void sampleLogin() {

		/*
		 * Given application is up and running When i perform the GET request using the
		 * given url Then the status code should be 200 Ok And the response body should
		 * be in Json Format
		 *
		 */

		given().accept(ContentType.JSON).header("user-key", "cde67df2673438bb2fae8dc7e205e98451903940394343").when()
				.get("https://developers.zomato.com/api/v2.1/categories").then().statusCode(200);

	}

}
Before concluding let’s understand few above terms quickly:
- Rest Assured framework follows the BDD approach.
- Given keyword defines the precondition
- When keyword defines the action to be performed
- Then keyword defines the outcome of the previous step
- And keyword defines the additional outcome.
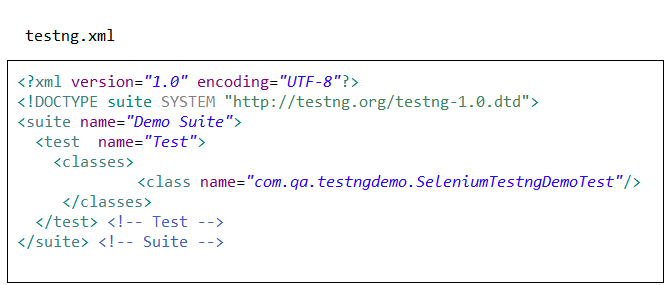
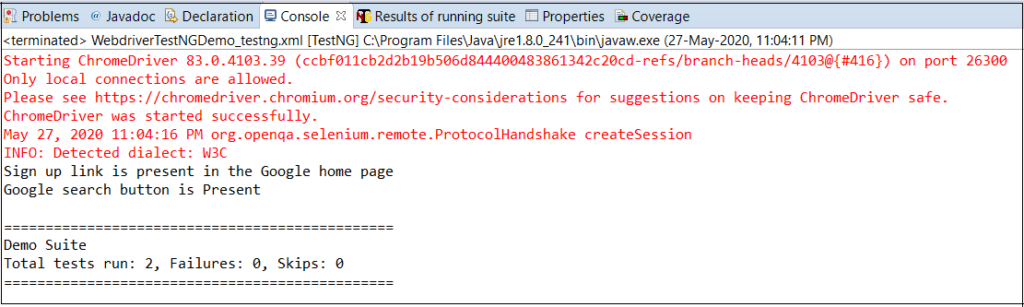
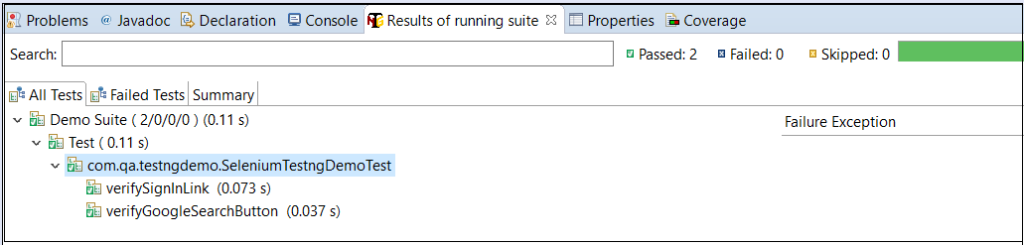
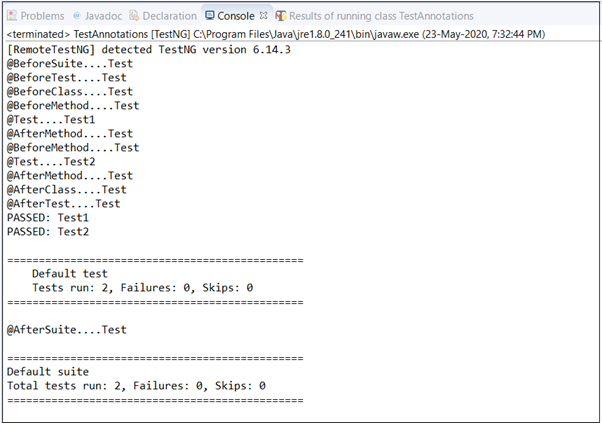
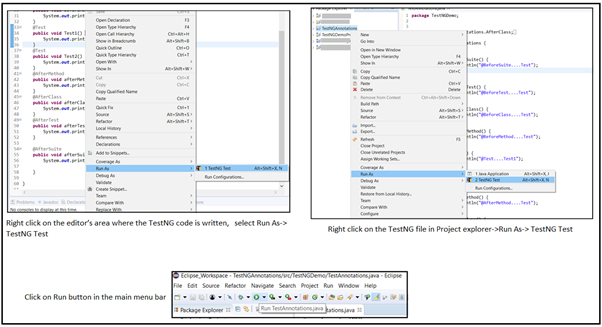
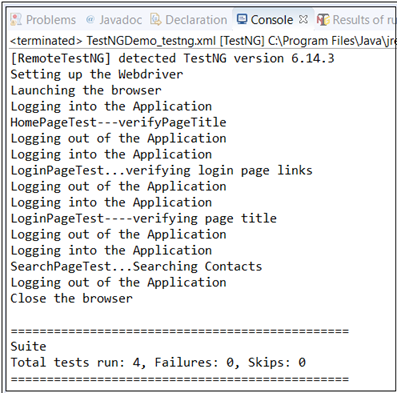
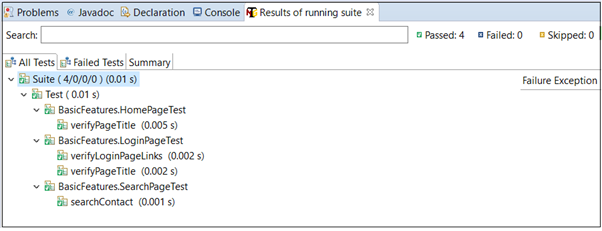
and now run the project using mvn install command and output will be displayed as: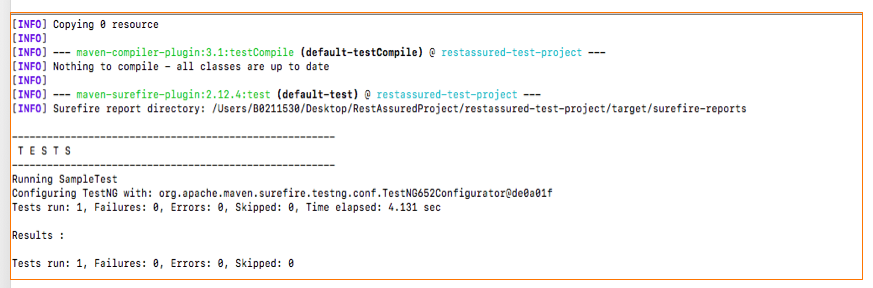
Conclusion:
To encapsulate, we have learned about API and it’s various terminologies, also created our first rest assured test 🙂


 – Basics To Advanced (Coming Soon)")